
Introduction and Structure of the Course · Lesson 2 of 51 · 5 min
How the course works
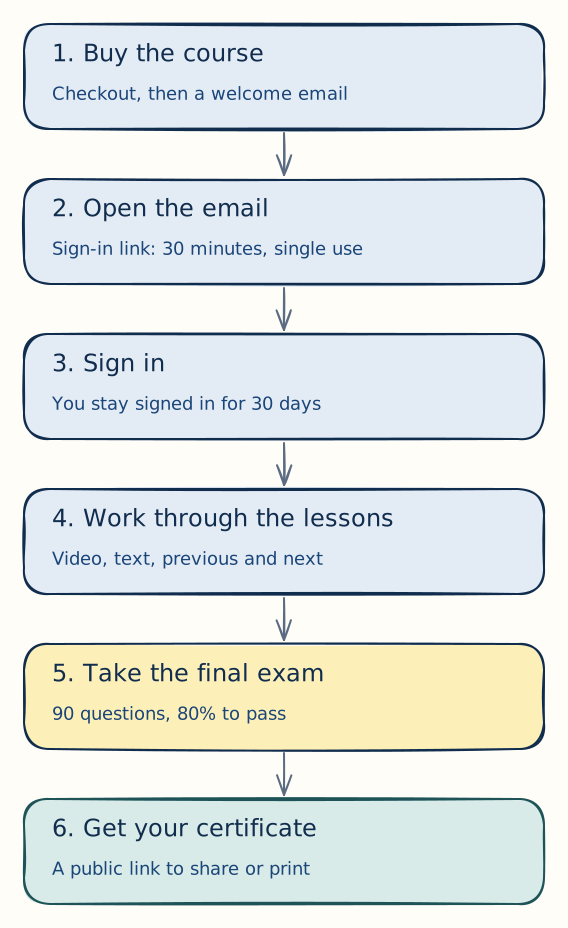
The path through the course
This lesson shows how the course works, from buying it to sharing your certificate. There is no password and nothing to install. You sign in with a link that I send to your email address.
Buy the course and get access
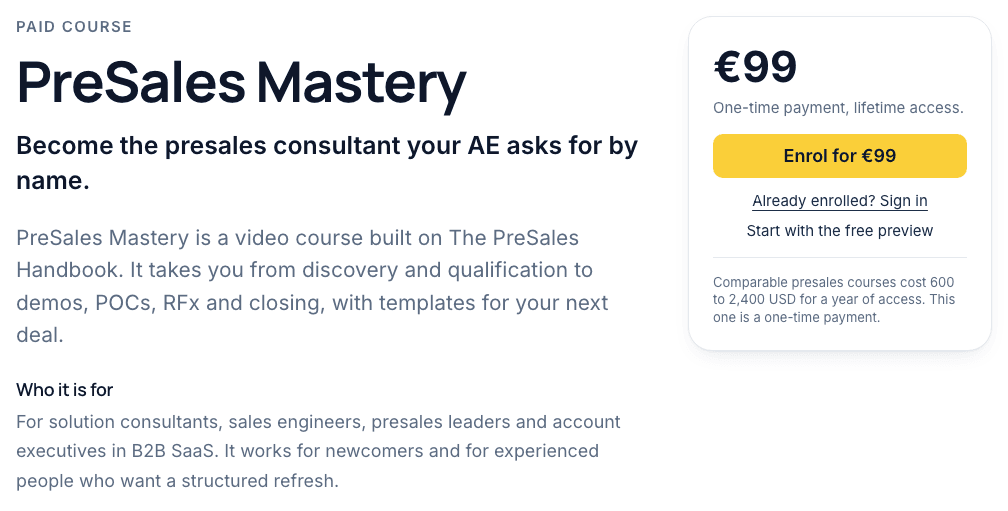
Open the course page (opens in a new tab) and click Enrol. Payment runs through Stripe. After you pay, you land on a thank-you page.
At the same time I send a welcome email to the address you used at checkout. It usually arrives within a minute. It holds your sign-in link. If nothing arrives, check your spam folder. You can also send the link again from the thank-you page, with the same address as at checkout.
The sign-in link works once and expires after 30 minutes. It opens a page with a Sign in button. Click it, and you are signed in on this device and taken to the course page.
Sign in again at any time
You stay signed in for 30 days in the same browser. After that, or on a new device, go to Course sign-in (opens in a new tab). On a computer the link sits at the top right of every page. On smaller screens it is in the menu. Enter your email address and I send you a fresh link. No password needed.
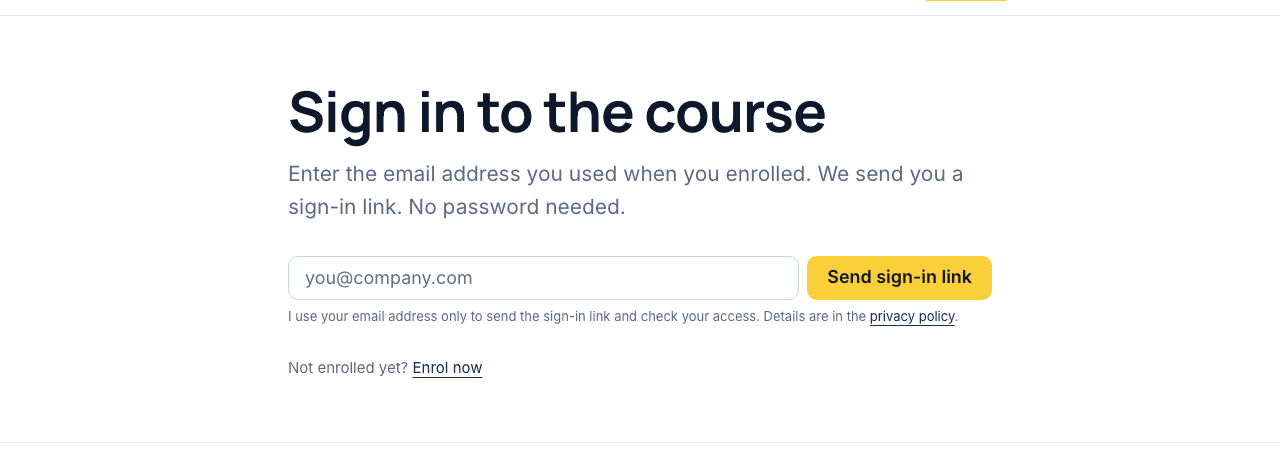
You can request up to three links per address per day. Always use the newest one in your inbox.
The course page and the curriculum
Once you are signed in, the course page (opens in a new tab) says "You are enrolled". It has a button to start the course and a link to your account. The curriculum lists every section with its lessons in order. The first sections are open. Click a section title to open the others.
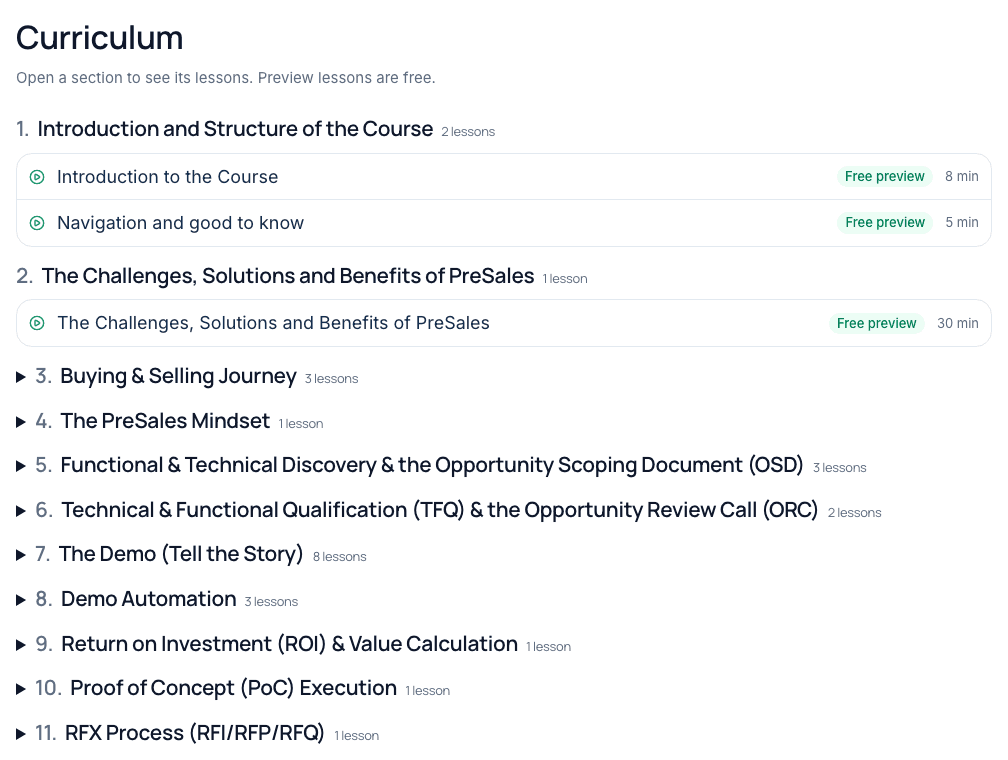
A play icon means you can open the lesson. A lock means it needs the full course. Lessons marked Free preview are open to everyone, including this one.
Inside a lesson
Each lesson has the same layout. At the top you see the section, the lesson number and the length. Below that come the text and the video. The course outline sits on the right, with the lesson you are on highlighted. On a phone the outline comes after the lesson.
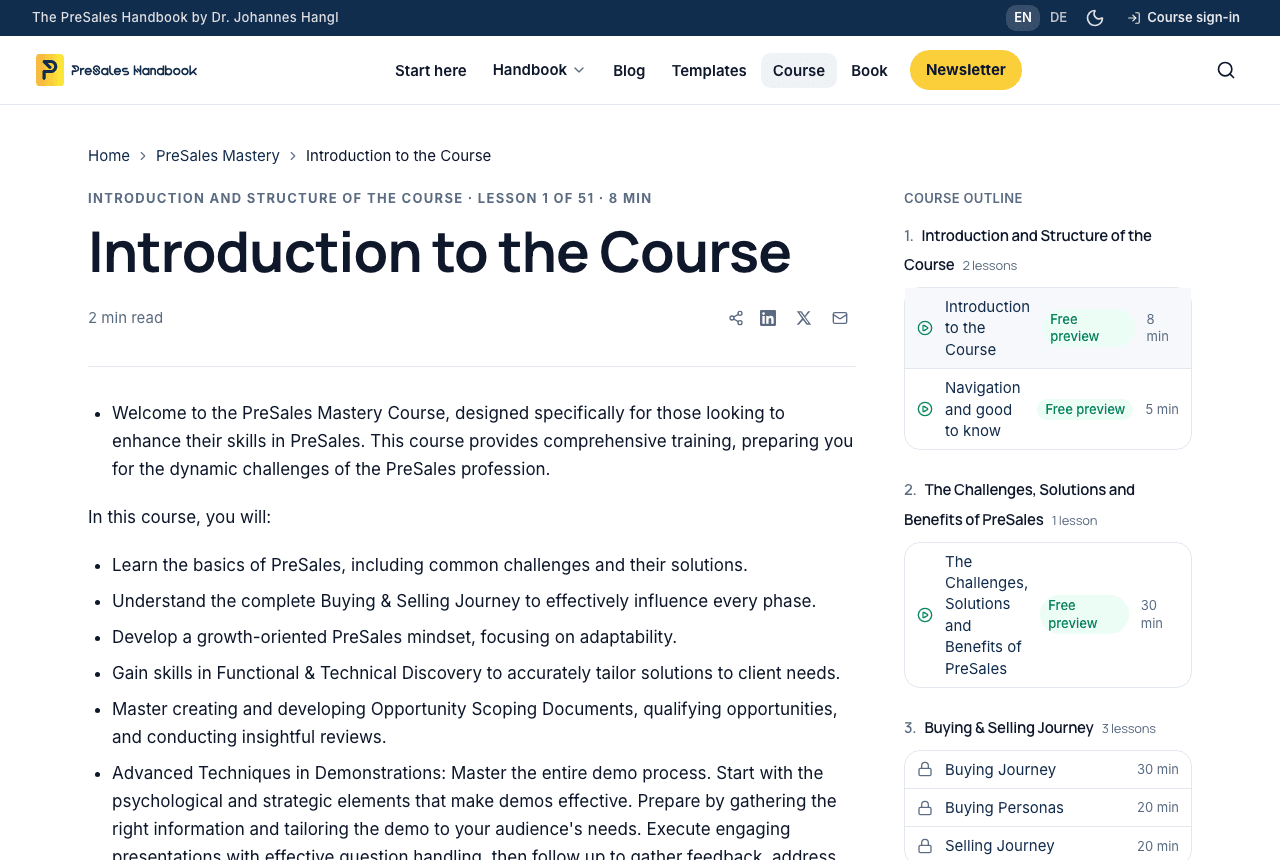
At the end of each lesson you find cards for the previous and the next lesson. Below them, a link takes you back to the course overview.
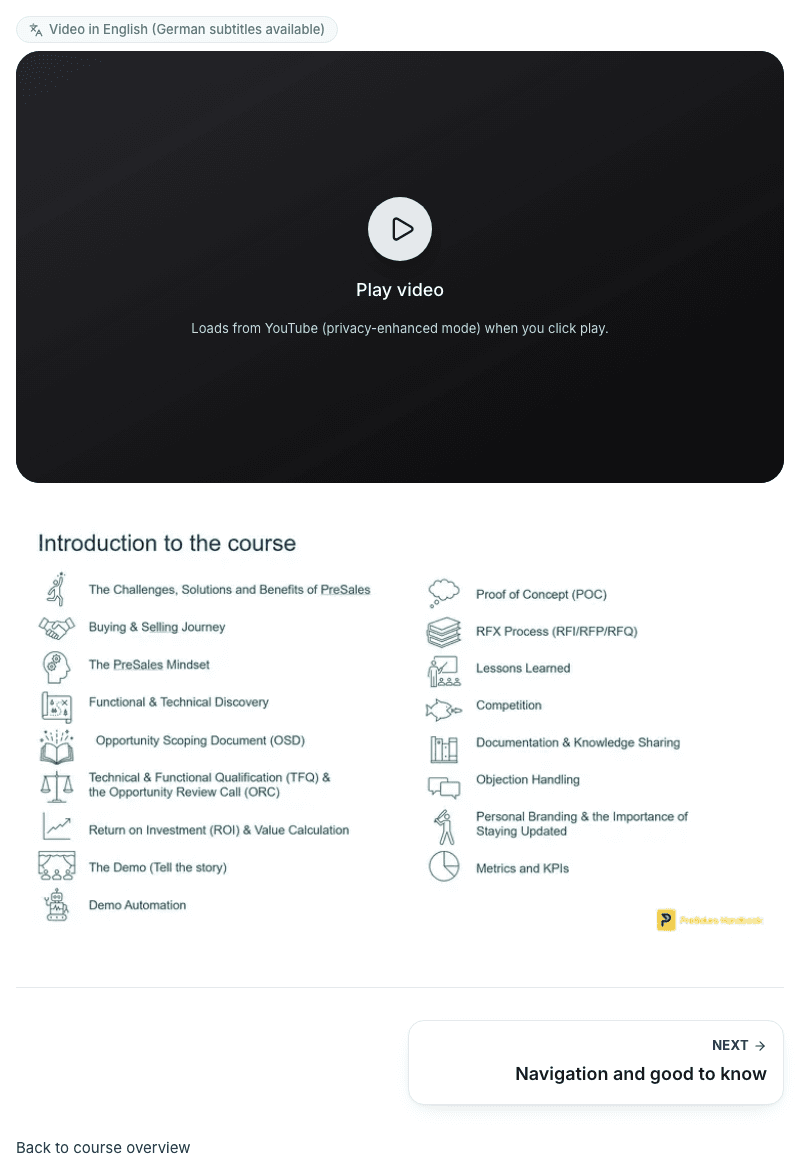
Lesson checks and your progress
Most lessons end with a short check: 2 to 4 questions on what the lesson just taught. Pick an answer and you see right away if it is right. If not, you see the right answer and a short reason. Nothing is graded, and you can try again as often as you like. Some lessons also have a few quick questions and answers, plus links to the matching templates and handbook chapters.
Answer every question of the check and the lesson counts as done. You can also use the Mark lesson as done button, or undo it. A tick in the outline shows the lessons you have done. The bars at the top of each lesson show how far you are in the module and in the whole course.
Your account page picks up where you left off. It shows a Continue button for the last lesson you opened, or the next one once that is done. It also lists every module with its own progress bar.
Videos and languages
The videos are in English and have German subtitles. Each player has a small label that says so. Nothing loads from YouTube until you click play. Then the video loads from YouTube in its privacy-enhanced mode.
The course pages come in English and German. Use the EN | DE switch at the top of the page. On smaller screens it is in the menu. On German pages, the course videos start with German subtitles switched on. You can change the subtitles in the player at any time. Where a lesson has no German text yet, the German page says so and shows the English text.
Templates and downloads
Many lessons link templates and cheat sheets: PowerPoint, Excel and Word files you can use in your next deal. Click the link in the lesson to download the file. More free templates are on the templates page (opens in a new tab).
AI in the course
Many lessons end with a short box called How AI changes this. It says what AI already does for that part of the job, what stays with you and one thing to try this week. If you use Claude, you can also install AI PreSales Skills. It is a free plugin built on this course, and it turns the methods you learn here into commands for your own deals. See how it works and how to install it (opens in a new tab).
The final exam
The final exam is the Final Mastery Quiz. You find it in the curriculum, right after the conclusion of the course, and in your account. It has 90 multiple-choice questions on one page. There is no time limit. A bar at the bottom shows how many questions you have answered. You can submit once every question has an answer.
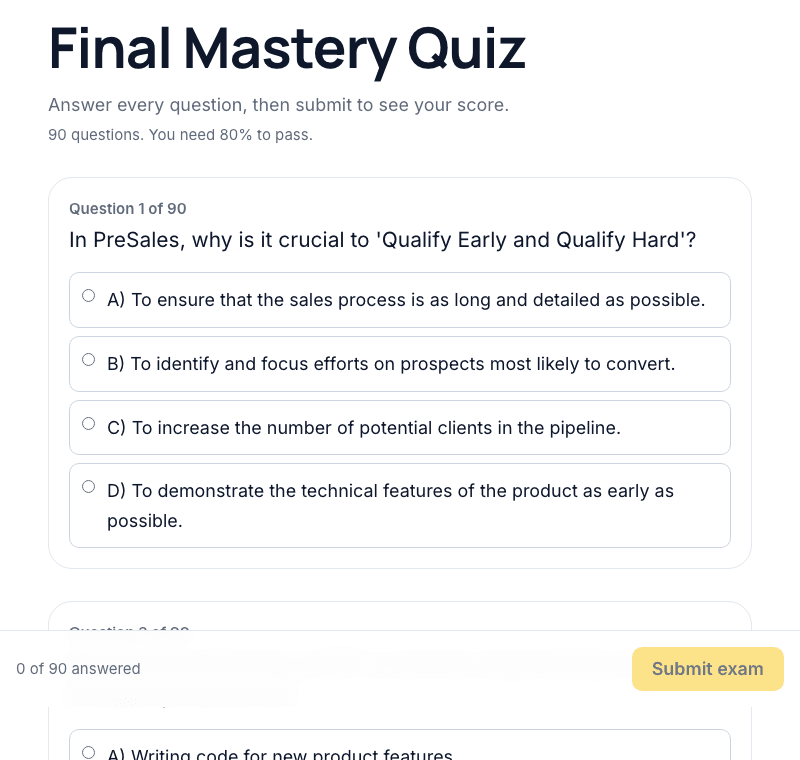
You need 80 percent to pass. Before you submit, enter your full name. It goes on your certificate. After you submit, you see your score and whether you passed. Below it you can review every question with your answer, the correct answer and why. On a fail, the review starts with the questions you missed. You can retake the exam as often as you like, up to ten times per hour. When you pass, your certificate is also sent to you by email.
Your certificate
When you pass, you get a link to your certificate. It shows your name, the course, the topics, the date and a certificate ID. A QR code on it leads to the verification page, so a printed copy can be checked too. Anyone with the link can open the page, but search engines do not list it. Below the certificate, Add to LinkedIn opens LinkedIn's form with the course, issuer, date and link already filled in. Print or save as PDF gives you a one-page copy for your files.
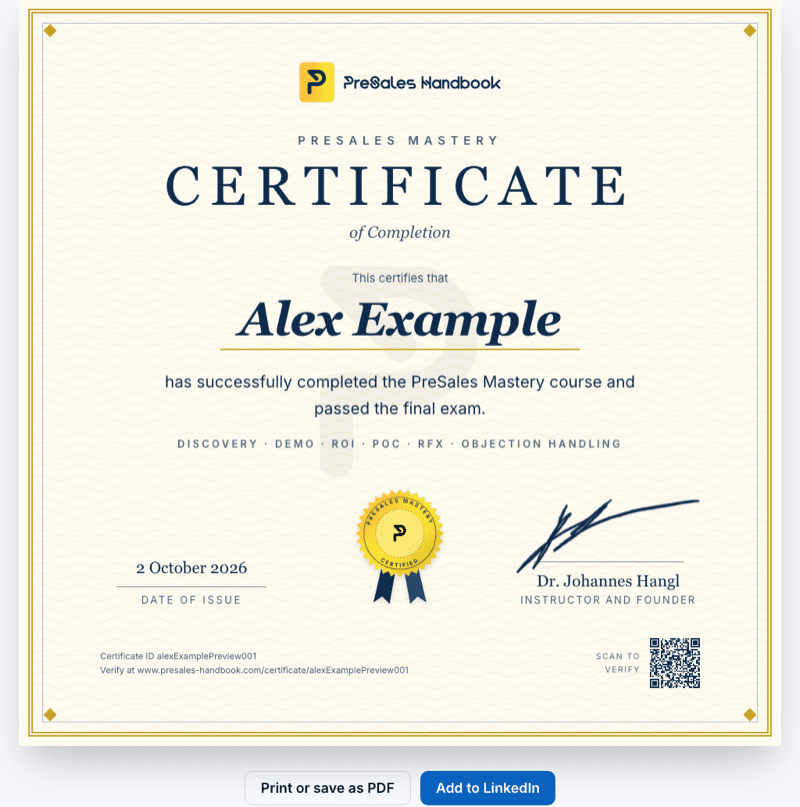
Your certificate keeps its link. Your exam score is not on it. You see it only in your account. Want your name changed or the certificate deleted? Write to me.
Your account
Your account page is your start point. At the top, a Continue button takes you back to where you left off, with a bar for your progress in the whole course. Below that you see every module with its own progress, where you stand with the exam, and how the course works. It also shows the email address you signed in with and your access: unlimited, at least 24 months after purchase. You reach it from the course page with Your account.
Feedback
Found a mistake, or is something unclear? Use the Feedback button. It sits in the footer of every page and under every lesson. You can also open it right here.
Pick bug, improvement idea or other feedback, and write a few lines. The page you are on is sent along. Each report becomes a ticket that I work through, and you see its number right away. Want to hear back? Leave your email address. You then get a mail once the report is resolved.
Help and privacy
Stuck, or the sign-in link does not arrive? Write to info@presales-handbook.com or use the contact page (opens in a new tab).
I use your email address to check your access and to send sign-in links. I store which lessons you opened and finished, your exam results and, once you pass, your certificate. Your answers to the lesson checks stay in your browser. Details are in the privacy policy (opens in a new tab).
How AI changes this
As of September 2026
- What AI already does
- An AI assistant can summarise a lesson, explain a term in other words or quiz you on what you just read.
- What stays with you
- The work in a real deal. Apply each method with a customer soon after you read about it.
- Try this week
- After your next lesson, ask an assistant for three questions on it. Answer them, then check your answers against the lesson.
Try it with the free AI PreSales Skills plugin for Claude. Start with /presales:guide
Questions about this lesson
The sign-in link does not arrive. What can I do?
Check your spam folder first. Then request a new link on the sign-in page with the same address you used at checkout. Still nothing? Write to info@presales-handbook.com.
Check what you learned
Pick an answer. You see right away if it is right.
Something wrong or unclear in this lesson?